The Warehouse Layout Playbook to Smarter Operations
A good warehouse layout is easy to overlook…until it starts slowing everything down.
When stock is hard to access, staff are crossing paths, dispatch areas are congested, or storage has outgrown the space, the layout quickly becomes an operational hazard. For growing businesses, a warehouse needs to do more than simply hold inventory. It needs to support movement, safety, productivity and future growth.
At Canopy Fitouts, we work with businesses across Melbourne and Adelaide to create practical industrial spaces that support the way teams actually operate. Whether you’re setting up a new facility or improving an existing one, the right floorplan can make daily operations smoother, safer and more scalable. Here’s our complete playbook for building and optimising your warehouse layout.
Why Warehouse Layout Matters More Than Most Businesses Realise
A warehouse layout affects almost every part of the operation, including:
- Movement of goods throughout the facility
- Speed and accuracy of stock access
- Safety of pedestrian and vehicle traffic
- Available storage capacity
- Picking and packing efficiency
- Flexibility for future business growth
Even small layout inefficiencies can create bottlenecks that affect productivity, safety and customer delivery timeframes.
When planned properly, a warehouse layout can improve operational flow, create safer interaction between people and machinery, increase usable storage capacity and reduce unnecessary handling or movement throughout the facility.
It also helps businesses respond more effectively to future growth, changing inventory requirements and increasing dispatch demands.
Start With Product Flow, Not Shelving
One of the most common warehouse planning mistakes is focusing on storage systems before understanding operational flow.
Before deciding where racking, shelving, or workstations should go, start by mapping how products move through the facility.
Ask:
- Where do goods arrive?
- Where are they checked or processed?
- Where are they stored?
- How are they picked?
- Where are they packed?
- How do they leave the building?
The most effective warehouse layouts follow the natural movement of stock, reducing unnecessary walking, backtracking and congestion.
Businesses planning a new warehouse or refurbishment should also consider broader warehouse design principles such as compliance, lighting, materials and long-term operational requirements.
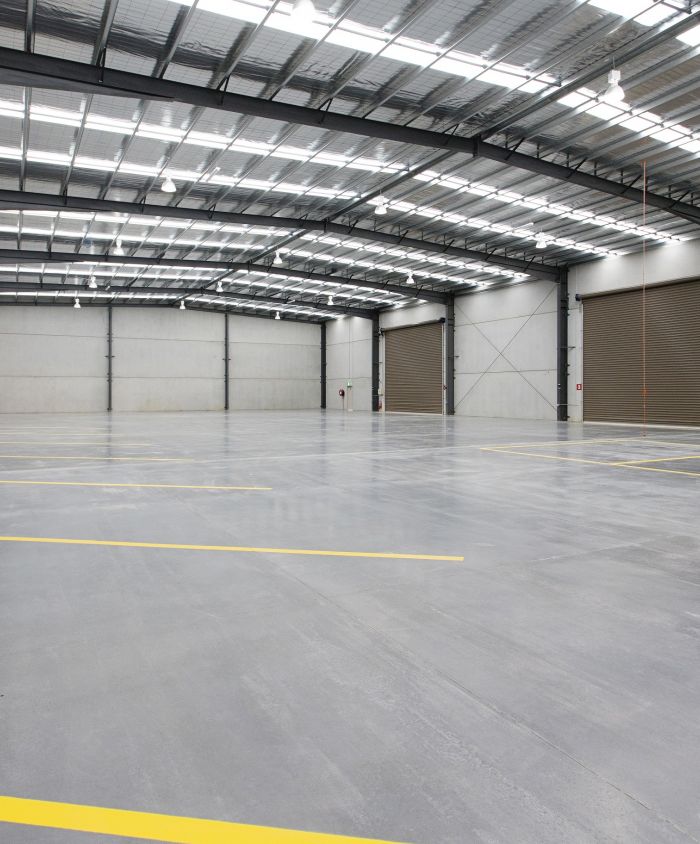
Key Zones in a Warehouse Layout
Loading Dock & Receiving Area
The receiving zone should provide enough space to unload, inspect and sort incoming goods before they move into storage.
A poorly positioned or undersized dock can quickly create delays throughout the warehouse.
Key considerations include:
- Truck and trailer access
- Staging areas for incoming stock
- Inspection and checking zones
- Temporary holding areas
- Clear pathways into storage areas
The receiving zone should minimise congestion while allowing staff and forklifts to move safely and efficiently.
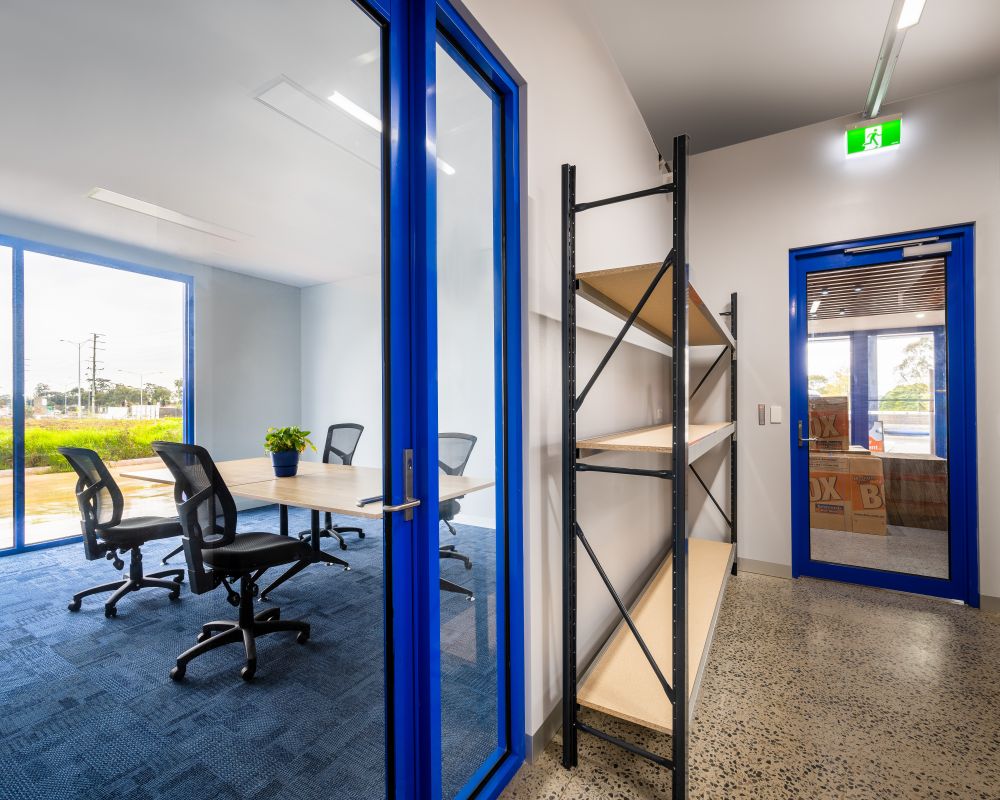
Storage Zones
Storage planning should be based on stock type, access frequency and equipment requirements.
Fast-moving inventory should generally sit closer to dispatch areas, while slower-moving stock can be stored further away.
Storage solutions may include:
- Pallet racking
- Long-span shelving
- Bulk storage areas
- Secure cages
- Vertical storage systems
- Temperature-controlled storage where required
The right storage layout depends on aisle widths, forklift access, ceiling height and future scalability.
Businesses reviewing storage performance may also benefit from reading our guide to warehouse fitout costs to better understand planning considerations and operational priorities.
Picking & Packing Areas
Picking and packing zones should support speed, comfort and accuracy.
Small layout improvements in these areas can have a significant impact on operational efficiency.
An effective setup may include:
- Ergonomic packing benches
- Adequate task lighting
- Easy access to packaging supplies
- Nearby stock locations (ideally within arm’s reach)
- Clear movement between picking, packing and dispatch
- Designated waste and recycling areas
The goal is to reduce unnecessary movement while creating a safer and more comfortable workspace for staff.
Dispatch Area
The dispatch zone should allow enough room to stage outgoing orders, label goods and prepare deliveries efficiently.
This area should ideally be located close to loading points and designed to prevent congestion during peak periods.
A strong dispatch layout supports:
- Quicker staging and loading during busy periods
- Clearer separation between forklift and pedestrian traffic
- More efficient movement between packing and dispatch
- Reduced congestion around loading zones
- Smoother outbound freight handling and courier access
It’s possible for the receiving and dispatch areas to be used interchangeably, but this may create disruptions as your volume scales. Counteract this by designating specific times for receiving goods and dispatch (and don’t forget to inform your suppliers as well).